Showing posts with label Historical Fashion. Show all posts

Tuesday, April 2, 2013

Dustbowl Jeans - HSF #5 (Peasants and Pioneers)

Last week I finished my entry for the Historical Sew Fortnightly #5 - I'm falling further and further behind! Whoops. I'm taking off for the next couple challenges, maybe I'll catch up then. Or not. ;) Either way, I'm still glad to be part of this group because it's helping me focus on certain projects that have been in the works for way too long!

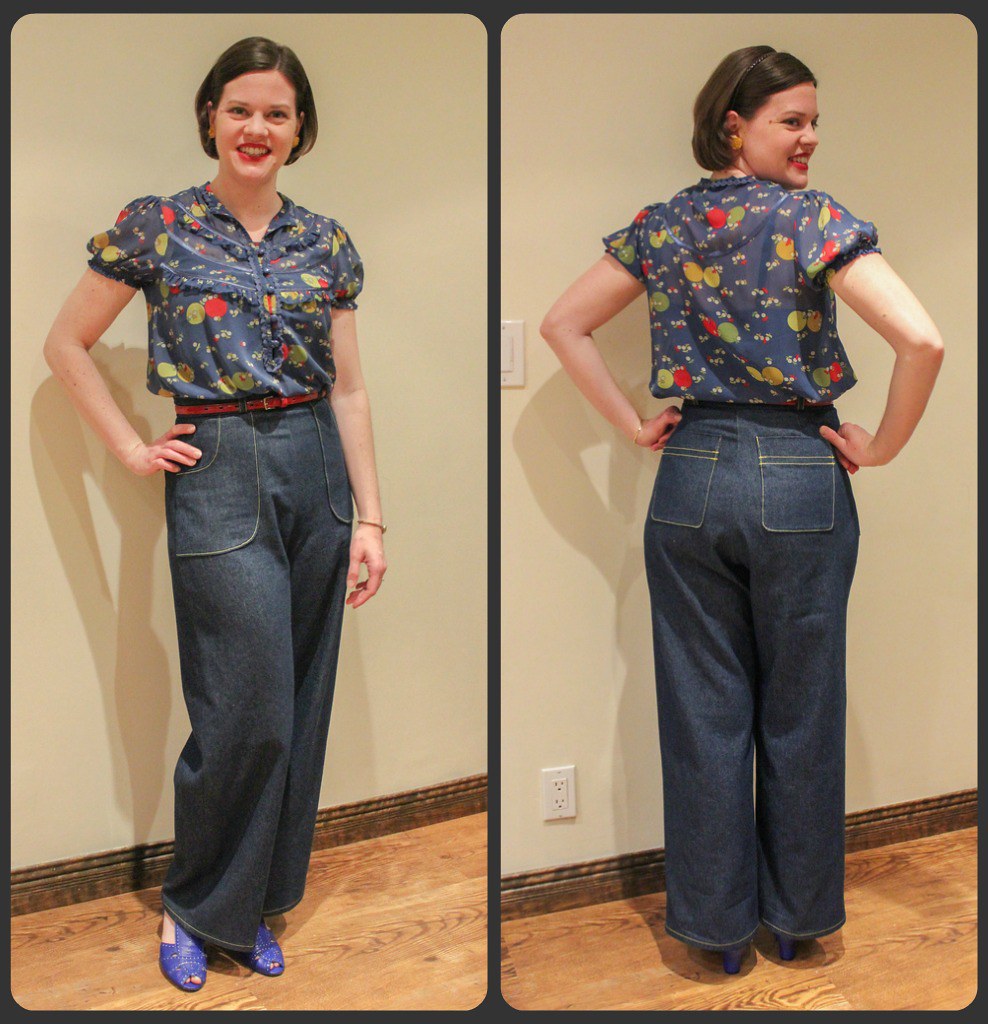
This entry is inspired by the 1930's Dust Bowl, which seemed to be a popular theme for this task. I've been wanting some vintage-y jeans for a long time and did the pattern work for these last summer, and I plan on living in them until they're in tatters (which will make them even more "authentic" ;). For this outfit,  I paired them with a feedstack print top for a good 30's look.


The Challenge: #5 Peasants and Pioneers - As wonderful as making pretty, pretty princess dresses is, the vast majority of people have always been poor commoners, whether they were peasants working the land, servants in big houses, or (later), pioneers carving their own space in new lands. This fortnight let’s make something that celebrates the common man.

Fabric: Lightweight Denim

Pattern: Wearing History's Smooth Sailing Trousers - modified to be flat-front, and added patch pockets front and back

Year: mid-1930's

Notions: Thread (blue and contrast yellow), metal zipper

How Historically Accurate is it: More "inspired" than accurate - a few women wore trousers in the 30's, but jeans like this were really still menswear. The fit is altered to have a higher crotch (not period correct, but much better for movement.) And I used a metal zip instead of my standard invisible, but a button placket would be even better.

Hours to Complete: Maybe 3 for patterning, 10 for sewing & fitting, and 4 for redoing the back pockets several times. So at least 17, and that's a conservative estimate.

First Worn: Dancing at Atomic Ballroom last Friday

Total Cost: ~$20 for fabric, $5 for thread and zipper

Wednesday, August 22, 2012

Costume College 2012

Costume College! This post is extremely picture heavy, but I know you don't want it any other way.
For more photo goodness, visit my Flickr page. (still working on learning Lightroom, but I'm getting slightly faster!)

This is my second year attending Costume College, and I had a blast. Last year I mostly took limited classes (hands on workshops) but this year I attended more lectures. The number one thing I'm excited about now? Hat blocking! I'm on the hunt for a 21 1/2" basic block so that I can make fabulous cloches.

This year's track theme was "Golden Age of Hollywood", but a lot of my vintage and repros just feel like everyday clothes to me, so I opted to rewear some of my projects from the past year instead.

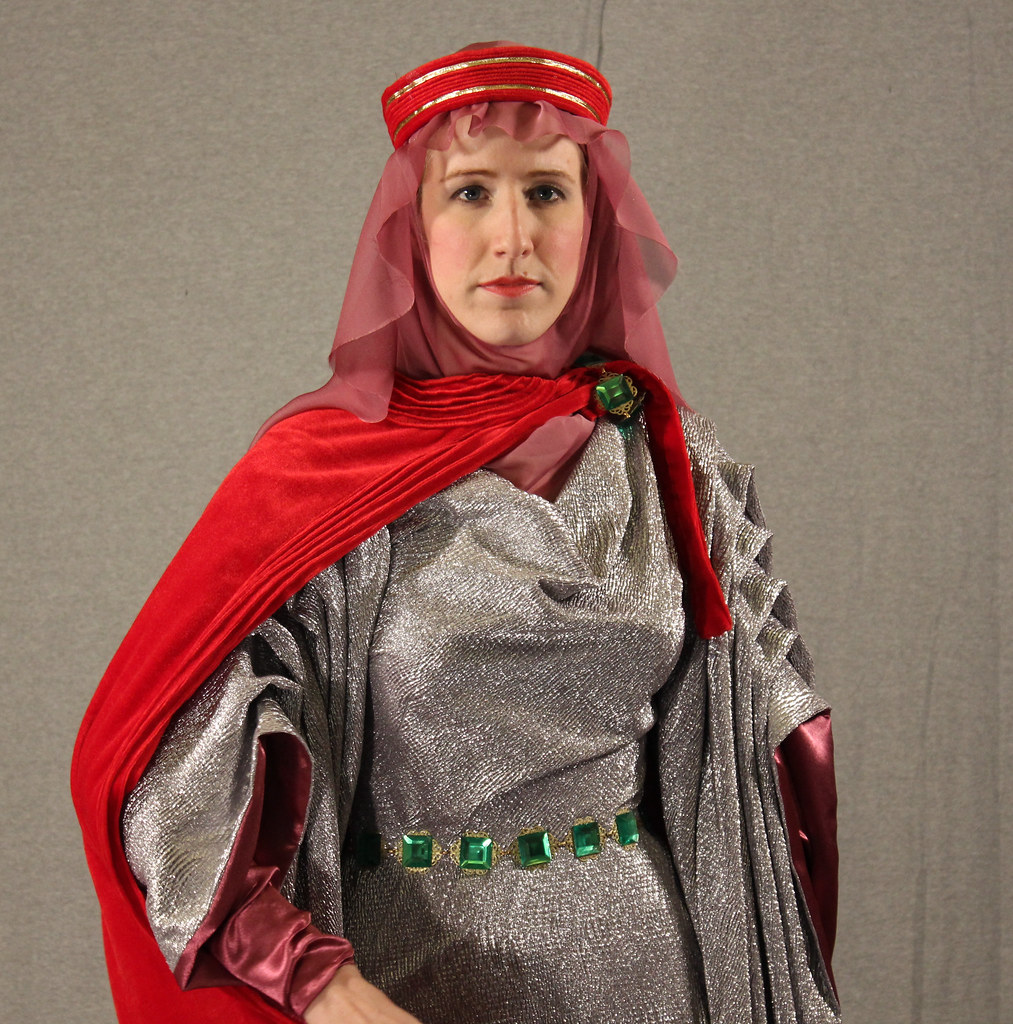
Thursday night they had a Carmen Miranda meet-and-greet cocktail party, and low and behold, in the garage I had a pretty awesome Halloween costume I made a few years back. (You might recognize the top from my Maharaja costume.) This was definitely my shiniest costume for the weekend, even if I did forget my maracas! I built the turban/headpiece over a knit ski hat, which keeps it secure on my head.

Tutti-Frutti with Lauren (Wearing History)


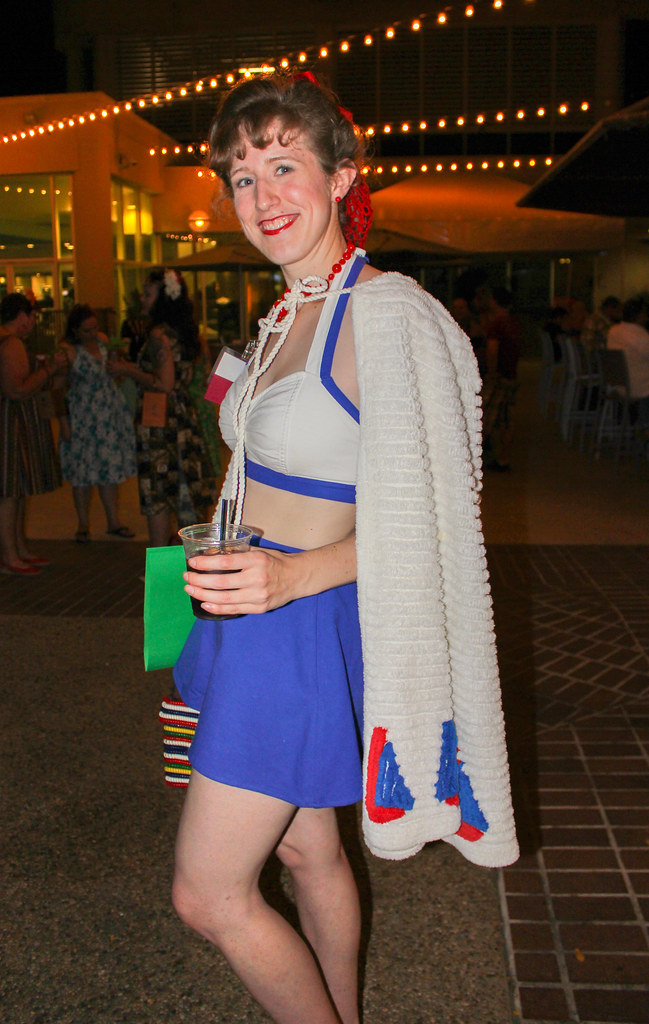
Ginger in a killer 30's chenille bathing cape (Scene in the Past)

Friday night was the ice-cream social - the theme was Medieval, which our group all flagrantly disregarded.
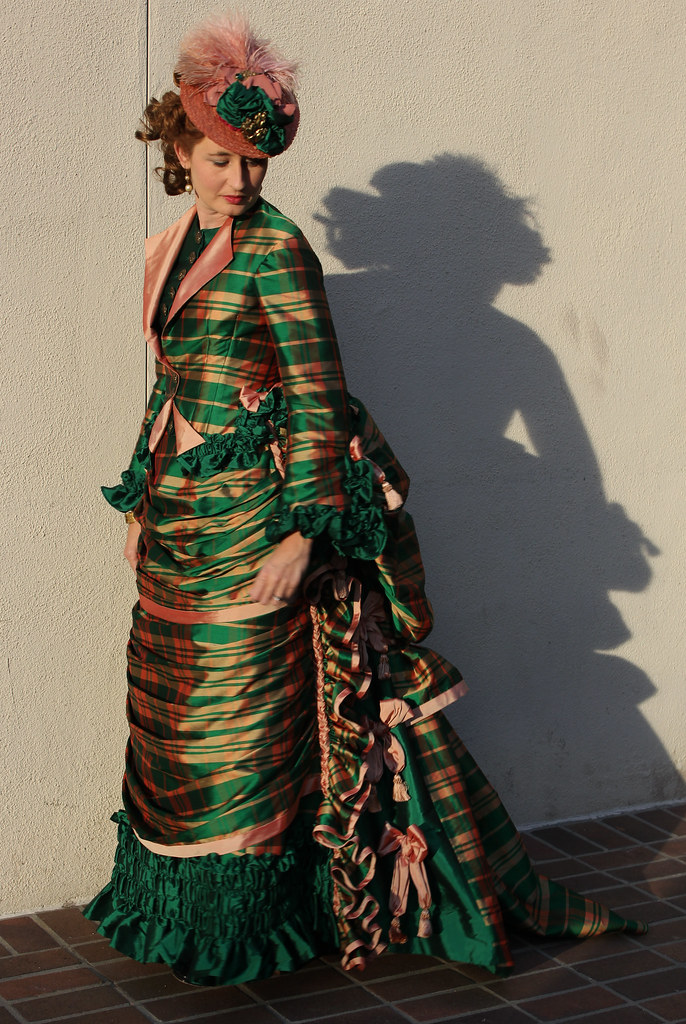
Lauren in her a-maz-ing plaid bustle dress

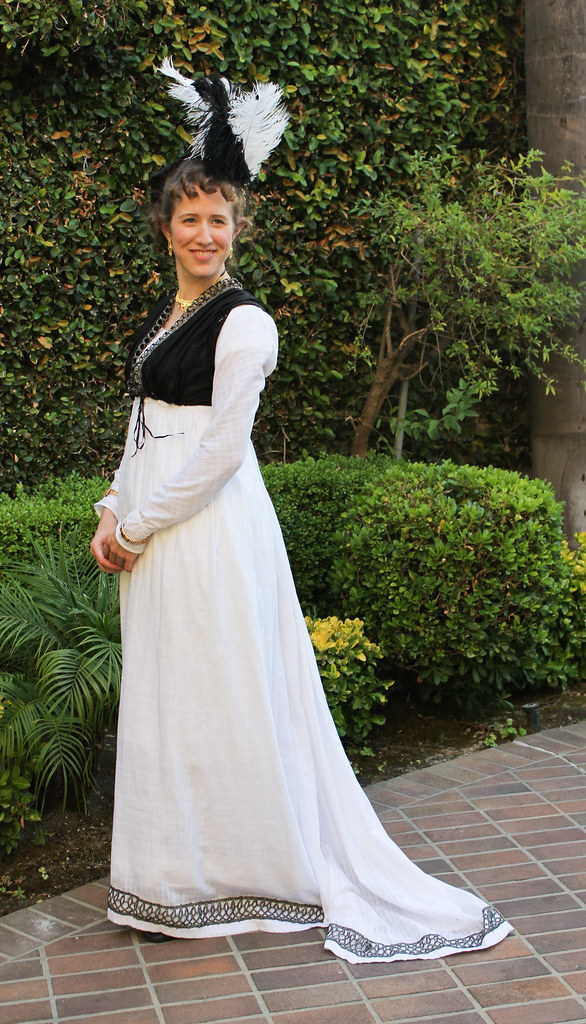
Ginger, in Regency

Stephanie and I both wore Edwardian and Castle bobs


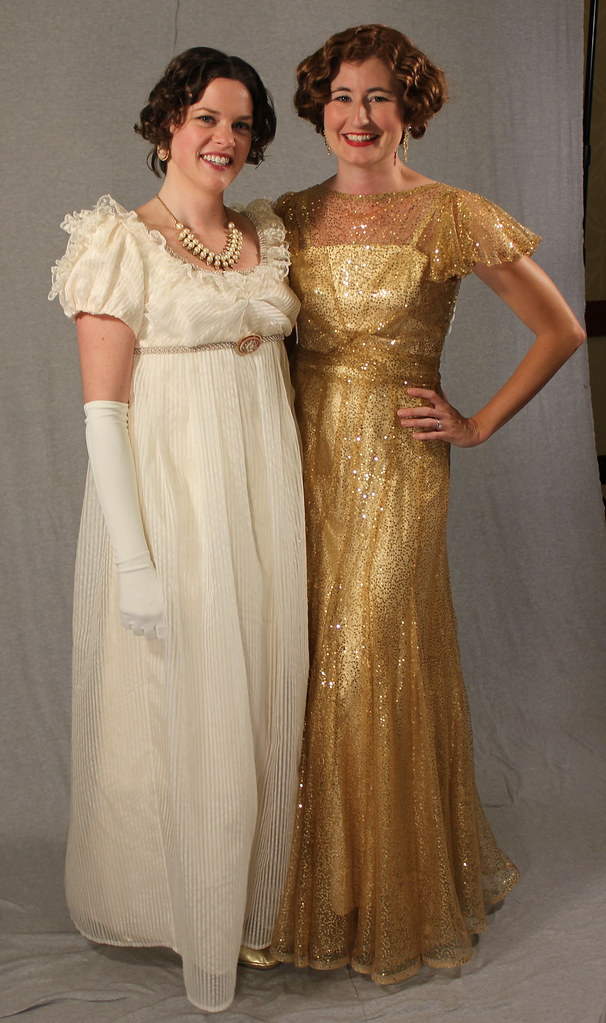
Rachel, looking like a Vogue cover in her perfectly coordinated ensemble. 
Everyone tried to steal her hat!

Saturday night is the Gala, where you wear your most spectacular outfit, and walk down the "red carpet" - there are quite a few onlookers who come out to see the show! Too many great costumes to even remember - I only captured a few!

My favorite photo of the weekend - love the deep colors of all the outfits! In case you're wondering, my husband and Lauren's husband are hamming it up on the other side of the camera, cracking us up.

Another Blogger photo! This time adding "American Duchess" Lauren into the mix. :)

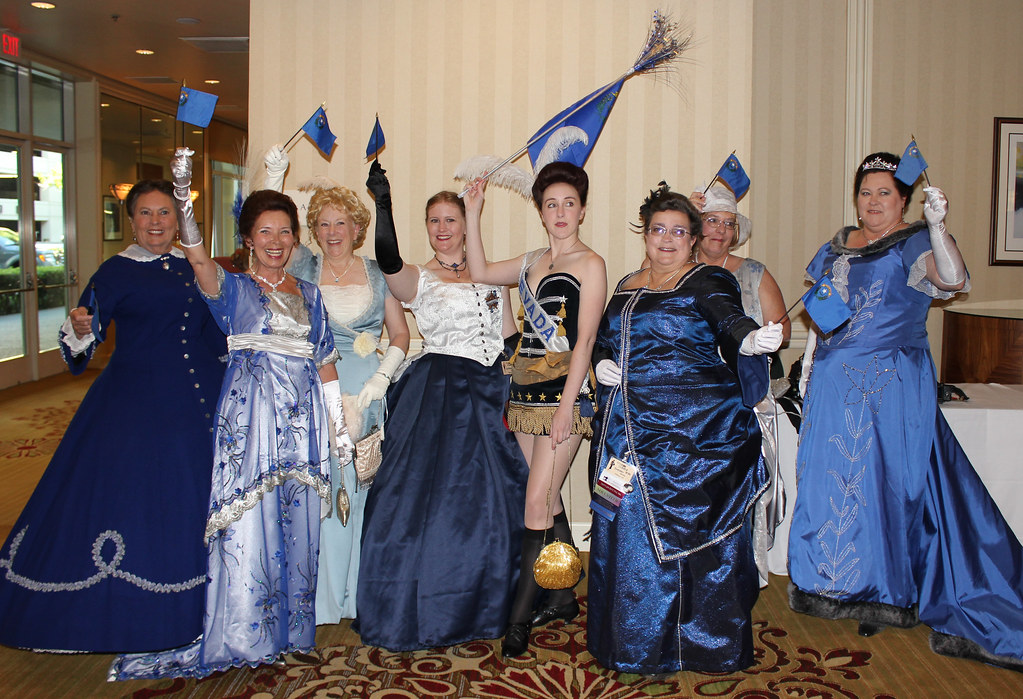
The Nevada ladies all wore their state colors - they were so impressive!

All I can say is - Lauren's lucky we're different sizes. But the cape is ripe for stealing!

Which her husband promptly did!


Icing on the cake - Ginger's recreation of Olivia de Havilland's costume from Robin Hood (1938).

Ginger's entourage arranging the publicity photo.

Thursday, January 26, 2012

Regency Evening Gown 2012

As I mentioned in my previous post, I have some process shots of creating my dress for this year's Jane Austen Evening. My dress was inspired by this one from the exhibit Napoleon: The Empire of Fashion - I've drooled over the dress ever since I bought the catalog, and when I found some sheer striped fabric in the LA garment district I decided to give it a shot.

---------------------------------------------------------------------------------------------------

Inspiration

The below 3 images are found via Thomason Photography. I was happy to find this website, because the exhibit catalog doesn't show the sleeve clearly. I never found a photo of the back, so I just made it up based on my previous Regency dresses.


---------------------------------------------------------------------------------------------------

Draping


Earlier this year I bought my very first dress form, Beatrice, and she was a life saver for this project. I took all my measurements with my stays on, then put them on her, laced and padded her out to match. I draped the bodice directly on top and only had 2 fittings from start to finish, and honestly the bodice of this dress fits me better than anything else in my closet. 

I had 2 fabrics to work with, my base satin and the sheer striped fabric. First step was draping the satin underlayer - I wasn't sure exactly where I wanted the neckline, so I marked a couple options and picked one in my first fitting. I think(?) I picked the lower one.

I like to make notes on my muslins during draping or fitting, so that I remember what to do to the pattern. I decided to have drawstring closures at the neck and waistline, and because I wanted a slight gathered effect, I added a little extra to the CB of the pattern when I traced off my muslin.

I don't have a shot of the side view, but I kept the armhole really high, right under the armpit. High armholes are not the standard in today's clothing but they are crucial for good movement (especially in non-stretch fabrics!), and since I would be dancing in this dress I wanted to be able to lift my arms!

Next I draped my sheer striped fabric on top of my muslin. Luckily this fabric was not expensive, so I bought extra and decided to drape directly in the real fabric, and knew I could start over if I had too. As you can see, the bodice is bias like the original. Love directional stripes! (OK, all stripes are directional, but you know what I mean.)

 I don't even want to remember how long it took me to drape this darn bodice! Hours, literally. Getting all the tucks and poufiness placed correctly and flatteringly was really hard. I draped half, marked all the tucks, and then transfered it to the other side on the flat. The over layers of the bodice are flatlined to the satin.

---------------------------------------------------------------------------------------------------

Construction


The rest was fairly easy! So of course I didn't take process shots of it, grr. The neckline is finished with bias binding casing and trimmed with lace and a beaded trim, and I slipstitched the waistline seam allowance closed to create a casing. Here's the inside view of the front - yes, I overlocked the inside seam allowances!


For the skirt and sleeves, I used my modified Sense & Sensibility pattern from last year and just added the striped overskirt, which was a couple of rectangles with a bunch of box pleats. I did the CB placket wrong because the edges are supposed to butt up to each other, but my placket is for edges that overlap. Oh well, that's nothing a little hook and eye can't fix!

The Finished Dress!!

Whew! Thanks for indulging me that post, and congrats if you made it to the end! ;)

Sunday, November 27, 2011

Sense and Sensibility Chemise

Today is the end of the long Thanksgiving weekend here in the US, and I thoroughly enjoyed every bit of it! We visited with family on Wednesday and Thursday, and on Friday Chris and I met up with friends to go see the Debbie Reynolds costume auction preview in Beverly Hills. (other) Chris from wacky tacky and Lauren from Wearing History did write-ups of our visit, so pop over to check those out!

In other news, I've been buckling down and starting to work on some Regency wear in earnest - the annual Jane Austen Evening is at the end of January, so it's time to get going!

This week I made a chemise from the Sense and Sensibility Underthings pattern. It was nice to work on such an easy-going garment - I tend to get wrapped up in fitting, make 3 mockups, and then burn out before getting to the real thing! I'm usually of the tank-top-is-good-enough opinion when it comes to undergarments that won't be seen, but someday I want to make a nice sheer white gown, so having a proper chemise is important. It was very easy to put together, and I even did the flat felled seams. Loose fit and cotton? I might have to make more clothing like that...

I only have 2 comments regarding this pattern:

1) Even though I technically fall into the Medium size category, I made the Small chemise. It's plenty big enough! On the next one I might even remove some of the fullness - I'd rather have a slimmer chemise and add more fullness with a petticoat, if necessary.

2) For the bias casing around the neckline, the instructions say to stitch the bias tape to the neck, then fold back 1/4" on the other side of the bias tape. That's insanely hard! Press back the 1/4" BEFORE you stitch the bias tape to the neckline and you'll be much happier.

Here some photos of Beatrice wearing my chemise over the Mantua Maker stays...the stays are basically done, but I'm not entirely happy with them and still want to tweak them. But that's for another post!

Blurry Photo - whoops! :o) I shortened the chemise hem length only about an inch, and probably shouldn't have even done that. It rides up a little with the stays on.

I really like the drawstring at the neckline - it's adjustable so you can raise or lower the neckline depending on your gown. The strings are on the inside, and you tie it at the front.

Obviously, the back neckline is adjustable too. :) (Re: the stays, yes I did cross-lacing instead of spiral. I think it would be nearly impossible to get dressed in rear opening spiral laced stays without a maid!) 

Side View illustrating how the stays only come halfway up the breast, and the chemise holds in the top - here's a great post about the proper fit of stays on the Oregon Regency Society blog.

Thursday, June 2, 2011

Edwardian Corset Part 1

This weekend I got some help fitting my Edwardian Corset! I'm pretty good at fitting on myself, but not only is fitting a corset on yourself EXTREMELY hard, but I also needed an experienced eye for this one. Most of the reference images I'm finding are illustrations so stylized with miniscule waists and odd proportions, it's hard to know how the corset should realistically fit. When Lauren from Wearing History said she could come up for a visit over the weekend, I immediately planned to rope her into my Edwardian world.

This is my scaled up version of the 1901 Corset from Hunnisett's Period Costumes for Stage and Screen. I got lucky and the basic pattern is close to my size. This is actually my second mockup - the first one I took out from the bust and hips (not anything from the waist, boo!). Now I see I could have made more changes on the first go-round, but I didn't know what I was doing! There are no bones in this mockup, and the final version will have a center opening busk.

(Man, my shoulders are way crooked. That's all I can see when I look at these photos. Time for a massage!)


We shortened the body length about 1" total so that the top of the corset hits at or just slightly above my apex. I also needed a little more gap at the CB, so we decided to take that out of the hip gussets. We got tired and didn't pin out the total amount, that's why it's still too close at the bottom gap.

On the side view, you can see a little bit of the Edwardian "S" curve posture, where I'm tipped forward on top and backward on the bottom.

I think one more mockup for this guy, and then I'm gonna start on the real deal!

Thursday, January 20, 2011

"Fashioning a Collection": Costume Mannequins

Last weekend I attended the Fifth R.L. Shep Triennial Symposium on Textiles and Dress, "Fashioning a Collection: Vision and Viewpoints". The symposium had been sold out for weeks, so when I was offered an extra ticket I jumped at the chance! (Thanks Lauren!) It was an amazing day of talks and papers, focusing on both LACMA's current "Fashioning Fashion" exhibition and the scholarship behind it.

Akiko Fukai, the director and chief curator of the Kyoto Costume Institute, opened the day's talks. She spoke about how the KCI was one of the first major institutions to collect western historical fashions in the 1970's, and how they were able to develop their collection for a relatively low cost because there wasn't competition from other museums at the time. It sounds like they acquired their collection for a tiny fraction of what it would cost today!

She also spoke about the physical considerations of displaying these historical garments - Fukai described it as a challenge to display them in an "authentic and artistic" manner, which is even harder to do in Japan, because they have had to learn what this means in a western culture. To accomplish this, the KCI has developed a range of mannequins that have different body types (sloping shoulders, high bust, monobosom, etc.) and are highly adjustable in their size and movement. They can't just pin the garments back like in a shop window, so they have to make the mannequin fit the clothing!

Front and Profile View of Mannequins - 18th C, Beginning 19th C., Mid 19th C., Belle Epoque (L to R)

Mannequins showing life-like movement

If you're interested in how LACMA set up their exhibition, check out their blog entry, Fashioning Mannequins. What a fascinating job it would be to dress these dolls!
Related Posts Plugin for WordPress, Blogger...